
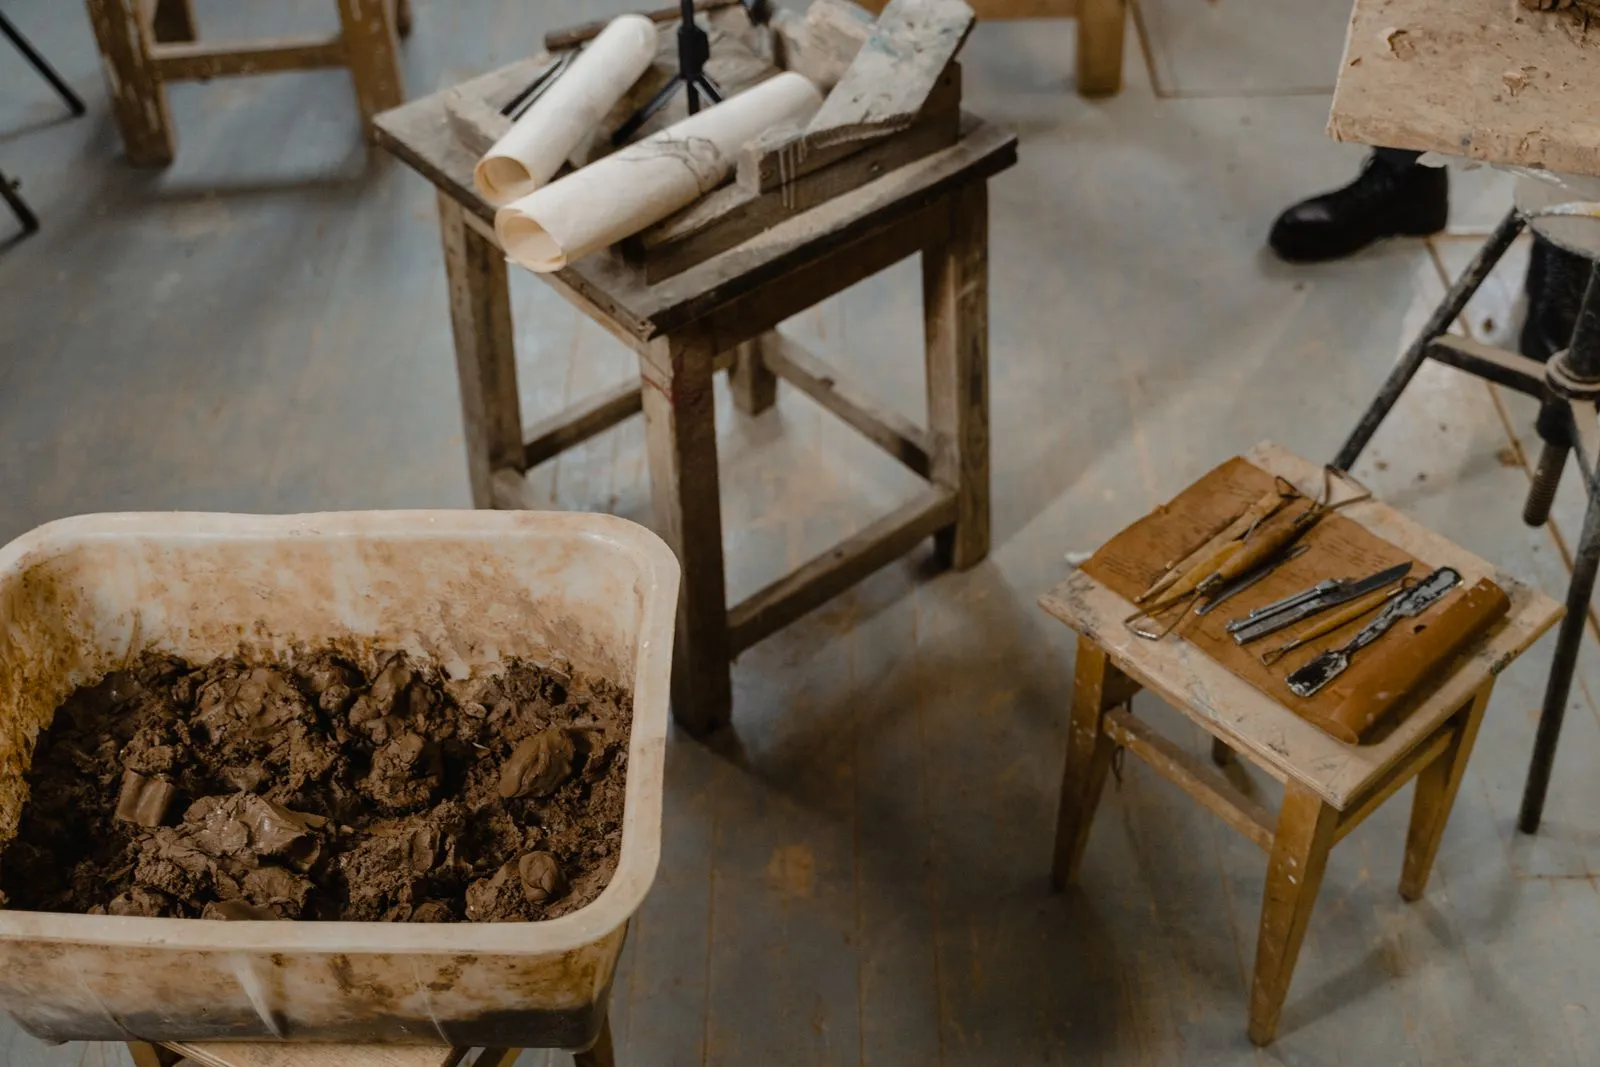
A large pottery project can mean one oversized vessel, a coordinated set of pieces, or several objects made for a shared purpose. The scale makes planning especially useful: clay needs space to be prepared, pieces need room to dry, and firing capacity can shape what is possible. Start by defining the finished work and its requirements. Then map out materials, workspace, firing, and time so you can make steady decisions before clay is on the wheel.
Define the Project Goals
Write down what you intend to make, how many pieces you need, and the approximate dimensions of each one. Note the intended use, desired finish, and any practical requirements, such as whether a vessel must hold water or a set must stack. A sketch with measurements gives you a reference as the work develops and helps reveal whether the project is too ambitious for your available tools or kiln.
Consider how the pieces will relate to one another. For a group of forms, decide which features should match and where variation is welcome. Make a test piece or small sample when you are unsure about proportions, surface treatment, or clay behavior. Testing early can prevent you from repeating a design choice across a large batch before you know how it will look after firing.
Estimate Clay and Workspace
Estimate clay by making a small version or prototype, weighing the clay used, and scaling that amount to your intended dimensions and quantity. Larger forms may require thicker walls, stronger bases, or added sections, so allow for those design choices. Include extra clay for trimming, test tiles, and ordinary making losses. Keep the estimate tied to your actual design rather than relying on a single amount for every large piece.
Plan where each stage will happen: wedging, forming, joining, drying, glazing, and moving finished work. Large pieces need clear floor space, sturdy work surfaces, and a safe route between the work area and kiln. Check that shelves can support the weight and that pieces can dry without being bumped. If space is limited, work in manageable batches and label each piece so parts and notes stay together.
Plan Firing Before Making
Confirm that the kiln can accommodate the project’s dimensions, clay body, and intended firing schedule. Measure the usable interior, not just the kiln’s outside size, and account for shelves, posts, and clearance around each piece. A piece that fits diagonally may still be difficult to load safely. Ask the studio about firing limits, loading procedures, and whether large or unusually shaped work needs special preparation.
Large forms can dry and heat unevenly, so plan for careful drying and follow guidance appropriate to the clay and construction. Thick areas, enclosed spaces, and joined sections may need particular attention. Arrange bisque and glaze firings in advance, especially if multiple kiln loads are likely. Set aside time to inspect work between stages, make glaze tests when needed, and respond to results before committing the full project.
Build a Realistic Schedule
Break the project into milestones: design, clay preparation, forming, joining, drying, trimming, bisque firing, glazing, and final firing. Estimate time for each stage, then leave room for slow drying, repairs, and kiln availability. Drying time depends on the form, wall thickness, room conditions, and clay body, so avoid setting a firm completion date based only on making days.
Use a simple project log to record dimensions, clay amounts, construction steps, drying checks, and firing details. Mark pieces clearly and keep related parts together. If you work in a shared studio, reserve the space and equipment you need and confirm how long work may remain on shelves. A schedule with checkpoints makes it easier to adjust the plan without rushing the clay or crowding the workspace.
A successful large pottery project begins with a clear design and a plan that respects material, space, firing capacity, and drying time. Confirm the practical limits before you start, then work through the project in manageable stages. If you need help planning a project in Cheyenne, Prairie Clay Studio can help you discuss your next steps.